Pantry staple homemade chip and dip recipes offer a simple yet satisfying solution for snack cravings and casual entertaining. With just a few common ingredients, anyone can whip up delicious dips that pair perfectly with chips, crackers, or vegetables. These easy appetizers require minimal effort and often come together in minutes, making them ideal for impromptu gatherings or lazy weekends at home.
From creamy onion dips to tangy yogurt-based spreads, the possibilities are endless when it comes to homemade chip dips. Many recipes utilize everyday items like sour cream, mayonnaise, herbs, and spices to create flavorful combinations. By experimenting with different ratios and ingredients, home cooks can customize their dips to suit personal tastes and dietary preferences.
Understanding the Basics of Chip Dips
Chip dips are versatile and easy-to-make accompaniments that elevate any snacking experience. They typically combine creamy bases with flavorful seasonings to create irresistible pairings for chips and other dippable foods.
Defining a Classic Dip
A classic chip dip consists of a creamy base mixed with various seasonings. Sour cream and mayonnaise are common foundations, providing richness and tanginess. These bases are then enhanced with spices and dried herbs.
Garlic powder and onion powder are staple seasonings that add depth and savory notes. Kosher salt is essential for bringing out flavors. Dried herbs like parsley and dill contribute freshness and visual appeal.
The key to a great dip lies in balancing flavors. Ingredients are mixed in a bowl until well combined. Chilling the dip for 30 minutes to an hour allows flavors to meld and intensify.
Pantry Staples: Your Dip Toolkit
A well-stocked pantry is crucial for creating delicious chip dips on demand. Essential items include:
- Dairy: Sour cream, mayonnaise
- Seasonings: Garlic powder, onion powder, kosher salt
- Dried herbs: Parsley, dill, chives
Lemon juice adds brightness and helps preserve freshness. Greek yogurt can substitute for sour cream for a tangier, lighter option.
Experiment with additional pantry items like hot sauce, taco seasoning, or ranch seasoning mix to create unique flavor profiles. These staples allow for quick, customizable dips without a trip to the store.
Sour Cream Dips: The Creamy Foundation
Sour cream dips offer a versatile base for countless flavor combinations. These creamy concoctions pair perfectly with chips and vegetables, making them a go-to option for snacking and entertaining.
Classic Sour Cream Chip Dip
The foundation of a classic sour cream chip dip starts with a 16-ounce container of sour cream. Dried minced onion adds a savory kick, while dried chives bring a mild onion flavor and attractive green flecks. Garlic powder enhances the overall taste profile.
To balance the flavors, a squeeze of lemon juice brightens the dip. A pinch of black pepper adds depth and complexity. For best results, refrigerate the dip for at least 2 hours before serving to allow the flavors to meld.
This simple recipe takes minutes to prepare and uses common pantry staples. It’s an ideal last-minute option for unexpected guests or impromptu gatherings.
Mixing in Flavors and Textures
Sour cream dips can be customized with various ingredients to create unique flavor profiles. Fresh herbs like dill or parsley add a burst of freshness. Grated cheese, such as cheddar or Parmesan, introduces a savory element.
For a tangy twist, mix in a dollop of mayonnaise. Diced vegetables like bell peppers or cucumbers add crunch and color. Spices such as paprika or cayenne pepper bring heat and complexity.
Experiment with different combinations to find your perfect blend. Some popular variations include:
- Ranch-style with buttermilk and herbs
- French onion with caramelized onions
- Mexican-inspired with taco seasoning and jalapeños
Serve these dips with potato chips, vegetable sticks, or crackers for a crowd-pleasing snack.
Cheese-Based Dips: Rich and Flavorful
Cheese-based dips offer a creamy, indulgent experience perfect for gatherings or snacking. These versatile options range from warm, melty concoctions to chilled herb-infused spreads.
Warm Cheese Dip Variations
Queso dip stands out as a crowd-pleasing favorite. Made with melted white cheese, it can be customized with diced tomatoes, cilantro, or jalapeños. For a heartier option, try a bacon cream cheese dip. This rich blend combines crispy bacon bits with smooth cream cheese for a satisfying texture.
Spinach artichoke dip melds cheese with vegetables for a more balanced flavor profile. Mix cream cheese, spinach, and chopped artichoke hearts, then bake until bubbly. Serve with tortilla chips or crostini for easy scooping.
A warm feta cheese dip offers a Mediterranean twist. Combine crumbled feta with cream cheese and herbs, then bake until golden. This tangy dip pairs well with pita chips or fresh vegetables.
Cold Cheese and Herb Spreads
Ricotta-based dips provide a lighter alternative to heavier cheese spreads. Blend fresh ricotta with garlic, Parmesan, and Italian seasoning for a simple yet flavorful dip. Add dried parsley for extra color and a subtle herbal note.
Cream cheese forms the base of many cold dips. Mix it with herbs like dill or chives for a classic spread. For a protein boost, incorporate smoked trout or salmon, complementing the rich cheese with a smoky flavor.
Herb-infused goat cheese spreads offer a tangy option. Combine soft goat cheese with fresh herbs like basil or thyme. This versatile spread works well as a dip or as a sandwich filling.
For a Mediterranean-inspired option, blend feta cheese with Greek yogurt and cucumber. This refreshing dip pairs perfectly with raw vegetables or pita chips.
Signature Herb and Spice Blends

Creating your own herb and spice blends allows for customization and enhances the flavor of homemade chip dips. These mixes can be stored for future use and easily incorporated into various recipes.
Creating Signature Mixes
Start with a base of dried herbs like parsley and dill. Add garlic powder, onion powder, and salt for depth. Experiment with paprika, cayenne, or black pepper for heat. Mix dried chives or green onion flakes for a fresh, oniony taste.
For a Mediterranean blend, combine dried oregano, basil, and thyme. Add dried lemon zest for brightness. A ranch-style mix might include dried dill weed, parsley, and onion flakes.
Measure ingredients carefully and mix thoroughly. Start with small batches to perfect ratios before scaling up. Record successful combinations for future reference.
Storing and Preparing Your Blends
Store herb and spice blends in airtight containers away from heat and light. Glass jars or metal tins work well. Label containers with blend names and dates.
Most mixes stay fresh for 6-12 months. Crush or grind whole spices just before use for maximum flavor. To use in dips, mix 1-2 tablespoons of blend per cup of sour cream or yogurt.
Adjust proportions to taste. Let dips sit in the refrigerator for at least 30 minutes before serving to allow flavors to meld. Taste and add more seasoning if needed before serving.
The Art of Homemade Chips
Creating crispy, flavorful chips at home allows for customization and control over ingredients. Proper potato selection and cooking techniques are key to achieving the perfect homemade chip.
Selecting the Right Potatoes and Vegetables
Russet potatoes are ideal for making traditional potato chips due to their high starch content. Their starch helps create a crispy texture when fried or baked. For ridged potato chips, waxy potatoes like Yukon Gold work well as they hold their shape better.
Sweet potatoes offer a healthier alternative with a unique flavor profile. For tortilla chips, corn tortillas are the traditional choice, while flour tortillas can be used for a softer texture.
When making pita chips, whole wheat pitas provide extra nutrients and a nutty flavor. Vegetables like kale, beets, and zucchini can be transformed into crispy chips for a nutritious snack option.
Techniques for Baking and Frying
Frying produces the crispiest chips but requires more oil. Heat oil to 350°F (175°C) and fry potato slices in small batches for 3-5 minutes until golden brown. For baked chips, toss thinly sliced potatoes with a small amount of oil and bake at 400°F (200°C) for 15-20 minutes, flipping halfway through.
To achieve crispy baked tortilla chips, brush corn tortillas with oil, cut into wedges, and bake at 350°F (175°C) for 10-12 minutes. For pita chips, cut pitas into triangles, brush with olive oil, and bake at 375°F (190°C) for 10-15 minutes.
Seasoning is crucial for flavorful chips. Salt immediately after cooking while still hot. Experiment with spices like paprika, garlic powder, or herbs for unique flavor combinations.
Dippers and Pairings

The right dippers can elevate any chip dip experience. From classic choices to creative options, selecting the perfect accompaniment enhances flavors and textures.
Classic and Innovative Dippers
Potato chips remain the quintessential dipper for most homemade dips. Ruffled or ridged varieties offer extra surface area for scooping. Tortilla chips provide a sturdier option for thicker dips.
Pretzels, especially mini pretzels, add a salty crunch. Their shape makes them ideal for dipping into creamier concoctions. Bagel chips and pita chips offer a hearty base for more substantial dips.
For a twist, try vegetable chips. Beet, sweet potato, or kale chips bring unique flavors and textures. Crackers, from plain water crackers to flavored varieties, can complement or contrast with dip flavors.
Pairing with Fresh Vegetables and Fruits
Fresh vegetables provide a healthier alternative to chips. Cucumbers, sliced into rounds or spears, offer a refreshing crunch. Baby carrots are convenient and sturdy enough for thick dips.
Cherry tomatoes can be hollowed out to create edible dip cups. Bell pepper strips add a sweet crunch, while celery sticks provide a neutral base for stronger flavors.
For a touch of sweetness, apple slices pair well with creamy dips. Grapes can be skewered for easy dipping. Radishes offer a peppery bite that contrasts nicely with milder dips.
Serving and Presentation Tips

Elevate your homemade chip and dip experience with thoughtful serving techniques and eye-catching presentations. The right garnishes and serving methods can transform simple recipes into impressive appetizers for any occasion.
Garnishing and Making Your Dish Pop
Fresh herbs make excellent garnishes for dips. Sprinkle chopped chives, parsley, or dill on top for a pop of color and added flavor. Dust paprika or chili powder over creamy dips for visual contrast. For veggie dips, arrange thinly sliced cucumber rounds or cherry tomato halves around the edge of the bowl.
Create texture by topping dips with toasted nuts, crispy bacon bits, or a drizzle of olive oil. Use colorful serving bowls to complement the dip’s hues. For a rustic look, serve dips in hollowed-out bread bowls or bell peppers.
Serving Suggestions for Different Occasions
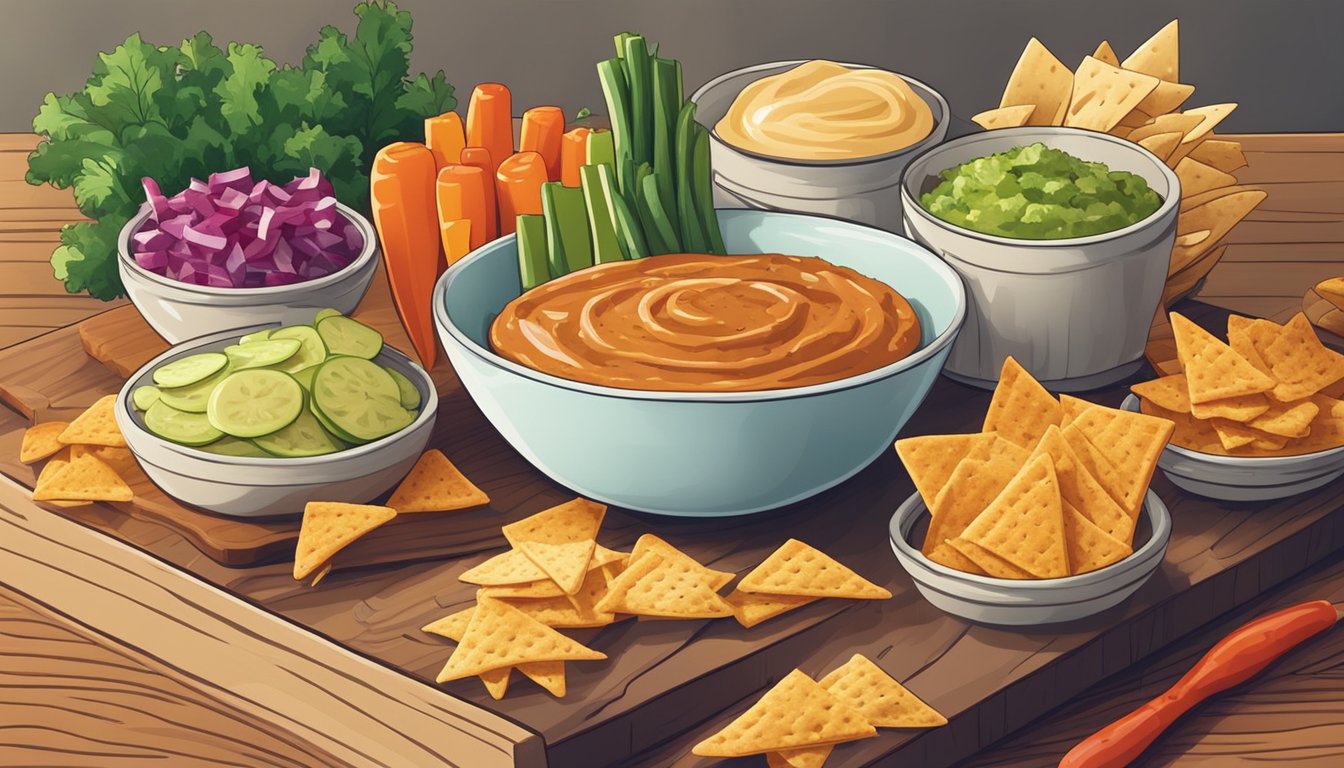
For casual gatherings, serve chip dip in a large bowl surrounded by an assortment of chips and crackers on a wooden board. Use small individual ramekins for formal events, allowing guests to have personal portions.
Create a DIY dip bar for parties. Set out several dips with labeled signs and a variety of dipping options like vegetable sticks, pita chips, and pretzels. For outdoor events, use mason jars to serve individual portions of dip with veggie sticks.
Pair creamy dips with sturdy chips and crunchy vegetables. Match spicy dips with cooling cucumber slices or carrot sticks. For game day, arrange dips in team-colored bowls and surround them with chips in complementary hues.
Longevity: Storing Your Dips and Chips

Proper storage techniques ensure your homemade dips and chips stay fresh and delicious for longer. Correct refrigeration, freezing, and packaging methods help maintain flavor and texture.
Refrigeration and Freezing Options
Store homemade dips in airtight containers in the refrigerator. Most dips last 3-5 days when chilled properly. For longer storage, freeze dips in freezer-safe containers for up to 3 months.
Thaw frozen dips in the refrigerator overnight. Stir well before serving to restore consistency. Some dairy-based dips may separate slightly but can be re-emulsified by whisking.
Chips generally don’t require refrigeration. Store them in airtight containers or resealable bags at room temperature. Keep chips away from heat and moisture to maintain crispness.
Packaging for Freshness
Use clean, dry containers with tight-fitting lids for dips. Glass jars or BPA-free plastic containers work well. Fill containers to the top, leaving minimal air space to prevent oxidation.
For chips, original packaging often works best. Once opened, transfer chips to airtight containers or use chip clips to seal bags tightly. Vacuum-sealing can extend shelf life significantly.
Label containers with contents and date prepared. This helps track freshness and rotate stock. For best chip dip results, consume within recommended timeframes.
Consider portioning dips into smaller containers for easy serving and to minimize exposure to air. This is especially useful for best chip dip recipes that are frequently used.
Customizing Your Recipes
Personalizing chip and dip recipes allows for endless creativity and adaptability to suit individual tastes and needs. Adjusting ingredients and experimenting with flavors opens up new possibilities for delicious homemade snacks.
Adapting Recipes for Dietary Restrictions
Many chip and dip recipes can be modified to accommodate various dietary needs. For gluten-free options, use corn or rice-based chips instead of wheat-based ones. Replace dairy ingredients with non-dairy alternatives like coconut cream or cashew-based sour cream for lactose-free versions.
Vegan dips can be made by substituting animal products with plant-based options. For example:
- Use nutritional yeast instead of cheese
- Swap mayonnaise with mashed avocado
- Replace sour cream with blended silken tofu
Low-sodium versions can be created by using fresh herbs and spices for flavor instead of salt. Reduce sugar content by using natural sweeteners like pureed fruit or stevia in sweet dips.
Experimenting with Flavors and Textures
Creating unique chip and dip combinations involves playing with different taste profiles and consistencies. Add unexpected ingredients to classic recipes for a twist:
- Mix in roasted garlic or caramelized onions for depth
- Incorporate chopped nuts or seeds for crunch
- Blend in roasted peppers or sun-dried tomatoes for smokiness
Experiment with global flavors by adding international spices and herbs:
| Cuisine | Flavor Additions |
|---|---|
| Mexican | Cilantro, lime, jalapeño |
| Greek | Dill, lemon, feta |
| Indian | Curry powder, ginger, mint |
Try different chip textures to complement dips. Pair smooth dips with ridged chips for contrast, or match chunky dips with sturdy, flat chips for easy scooping.