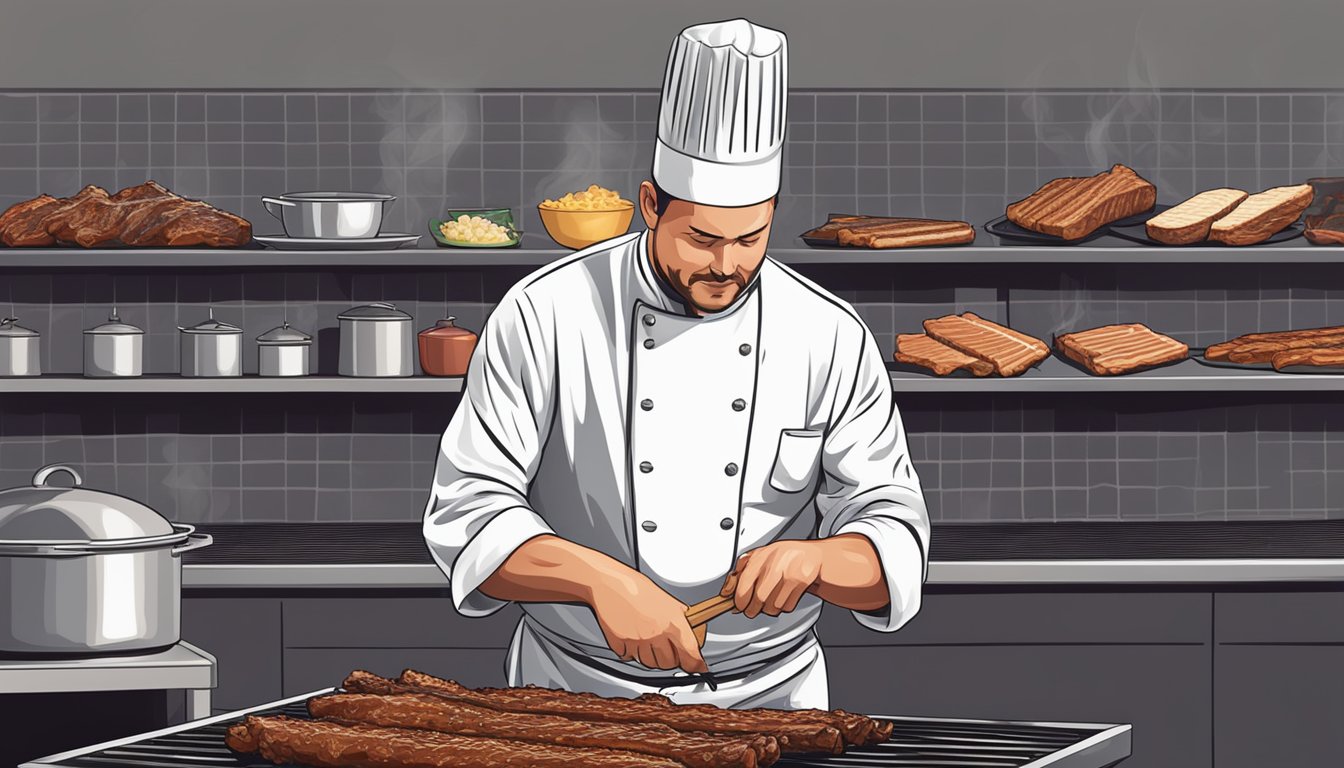
Cooking ribs is a culinary art that combines technique, patience, and flavor. The key to achieving perfect ribs lies in slow cooking over low heat, which allows the meat to become tender and absorb rich smoky flavors. Whether using a grill, smoker, or oven, mastering this method transforms tough cuts into succulent, fall-off-the-bone delicacies.
Seasoning plays a crucial role in elevating ribs from good to extraordinary. A balanced dry rub of salt, pepper, and spices enhances the meat’s natural taste without overpowering it. Some cooks opt for a flavorful marinade or finishing sauce to add depth and complexity to the final dish.
Proper preparation is essential for cooking ribs. Trimming excess fat, removing the membrane from the back of the rack, and allowing the meat to reach room temperature before cooking all contribute to a superior end result. These steps, combined with attentive cooking and resting periods, ensure juicy, flavorful ribs that will impress any barbecue enthusiast.
Understanding Rib Types
Different rib cuts offer unique flavors, textures, and cooking characteristics. Knowing the distinctions between spare ribs, baby back ribs, St. Louis-style ribs, and other pork rib varieties can help you choose the right cut for your recipe and cooking method.
Spare Ribs
Spare ribs come from the belly area of the pig. They are larger and meatier than other rib types, with more fat marbling throughout. This fat content contributes to their rich flavor and helps keep them moist during cooking.
Spare ribs typically have 11-13 bones per rack. They require longer cooking times due to their size and fat content. The extra fat makes them ideal for slow cooking methods like smoking or braising.
These ribs are prized for their juicy texture and bold pork flavor. They’re often used in barbecue competitions and are a popular choice for backyard grilling.
Baby Back Ribs
Baby back ribs are cut from the top of the ribcage, near the loin muscle. They’re shorter and more curved than spare ribs, hence the name “baby.” A typical rack contains 8-13 ribs.
These ribs have less fat and more lean meat. The meat is tender and cooks faster than spare ribs. Baby backs are known for their sweet, subtle flavor.
The loin muscle attached to baby back ribs adds extra juiciness. They’re a popular choice for home cooks due to their quicker cooking time and ease of preparation.
St. Louis-Style Ribs
St. Louis-style ribs are spare ribs with the rib tips, sternum bone, and cartilage removed. This trimming results in a rectangular rack that cooks more evenly.
These ribs have a higher meat-to-bone ratio than untrimmed spare ribs. They’re flatter and easier to brown, making them ideal for grilling or oven-roasting.
St. Louis-style ribs offer a good balance of meat, fat, and flavor. They’re versatile and work well with various cooking methods and sauce styles.
Pork Ribs
Pork ribs encompass several cuts beyond the main types discussed above. Country-style ribs, for example, are cut from the shoulder end of the loin. They’re meatier but contain less connective tissue.
Rib tips, another pork rib variety, are the meaty, cartilage-rich sections trimmed from spare ribs to create St. Louis-style cuts. They’re often braised or used in stir-fries.
Choosing the right pork rib type depends on your preferred cooking method, flavor profile, and serving style. Each cut offers unique characteristics that can elevate your rib-cooking experience.
Preparation Basics
Proper preparation is crucial for achieving delicious, tender ribs. Key steps include trimming excess fat, removing the membrane, and applying flavorful seasonings.
Trimming Excess Fat
Begin by examining the ribs and identifying areas with excessive fat. Using a sharp knife, carefully trim away any thick layers of fat, leaving a thin layer for flavor and moisture. Focus on removing large fat deposits from the meat side of the ribs.
Pay special attention to the edges, where fat tends to accumulate. Trim these areas to ensure even cooking and prevent flare-ups during grilling. A well-trimmed rack of ribs will cook more evenly and result in a better eating experience.
Removing the Membrane
Locate the thin, silvery membrane on the bone side of the ribs. This tough layer can prevent flavor penetration and create an unpleasant texture if left intact. To remove it:
- Slide a butter knife under the membrane at one end of the rack.
- Use a paper towel to grip the loosened edge.
- Peel the membrane off in one piece, pulling firmly but gently.
If it tears, simply restart the process at another spot. A membrane-free rack allows for better seasoning absorption and more tender ribs.
Applying a Dry Rub
A dry rub enhances flavor and helps create a delicious crust on the ribs. To apply:
- Pat the ribs dry with paper towels.
- Brush lightly with olive oil to help the rub adhere.
- Mix your chosen spices in a bowl. A basic rub might include:
- 2 tbsp brown sugar
- 1 tbsp salt
- 1 tbsp black pepper
- 1 tsp garlic powder
- 1 tsp onion powder
Sprinkle the rub evenly over both sides of the ribs, gently massaging it into the meat. Allow the seasoned ribs to rest in the refrigerator for at least 30 minutes before cooking to enhance flavor absorption.
Utilizing Marinades
Marinades add moisture and flavor to ribs. To use a marinade effectively:
- Combine your chosen ingredients in a bowl or blender.
- Place the ribs in a large, shallow dish or resealable plastic bag.
- Pour the marinade over the ribs, ensuring even coverage.
- Refrigerate for 2-8 hours, turning occasionally.
A simple marinade might include:
- 1/2 cup soy sauce
- 1/4 cup olive oil
- 2 tbsp brown sugar
- 2 cloves minced garlic
- 1 tsp black pepper
Remove the ribs from the marinade and pat dry before cooking. Discard used marinade to prevent cross-contamination.
Cooking Techniques
Mastering rib cooking techniques is essential for achieving tender, flavorful results. Each method offers unique benefits and flavor profiles to suit different preferences and equipment availability.
Smoking Ribs
Smoking ribs creates a rich, smoky flavor and tender texture. Use a smoker or charcoal grill with wood chips for best results. Maintain a temperature of 225-250°F (107-121°C) for optimal cooking.
Set up the smoker for indirect heat. Place a water pan below the ribs to maintain moisture. Add wood chips like hickory or applewood for flavor.
Smoke ribs for 4-6 hours, depending on their size. Wrap them in foil after 2-3 hours to prevent drying. Baste occasionally with apple juice or your preferred liquid.
Remove the foil for the final hour to develop a crispy exterior. The ribs are done when the meat pulls back from the bone slightly and reaches an internal temperature of 190-205°F (88-96°C).
Grilling Ribs
Grilling ribs offers a convenient method with delicious results. Set up a gas or charcoal grill for indirect cooking. Preheat to 275-300°F (135-149°C) for medium heat.
Season ribs with a dry rub. Place them bone-side down on the cooler side of the grill. Close the lid and cook for 3-4 hours.
For added smoky flavor, use wood chips in a smoker box or aluminum foil packet. Baste the ribs with barbecue sauce in the last 30 minutes of cooking.
Test for doneness by gently twisting a rib bone. It should move easily but not fall off. Let the ribs rest for 10-15 minutes before serving.
Braising Ribs
Braising combines dry and moist heat cooking methods for tender, flavorful ribs. Start by searing the ribs in a hot pan to develop a caramelized crust.
Transfer the ribs to a large pot or Dutch oven. Add liquid such as broth, wine, or beer until it covers about 1/3 of the ribs. Include aromatics like onions and garlic for extra flavor.
Cover and simmer on low heat for 2-3 hours, or until the meat is tender and falling off the bone. Turn the ribs occasionally during cooking.
For a finishing touch, remove the ribs and reduce the braising liquid to create a flavorful sauce. Serve the ribs with the sauce drizzled over the top.
Oven Cooking
Oven cooking is a reliable method for consistently tender ribs. Preheat the oven to 275°F (135°C) for low and slow cooking. Season the ribs with a dry rub or marinade.
Wrap the ribs tightly in foil, creating a sealed packet. Place them on a baking sheet to catch any drips. Cook for 2-3 hours for baby back ribs or 3-4 hours for spare ribs.
Open the foil carefully and brush the ribs with barbecue sauce. Return them to the oven uncovered for 20-30 minutes to caramelize the sauce.
Let the ribs rest for 10 minutes before serving. For extra caramelization, broil them for 3-5 minutes, watching closely to prevent burning.
Mastering Cooking Times and Temperature Control
Achieving perfectly cooked ribs requires precise temperature control and timing. The ideal cooking temperature for ribs falls between 225°F and 250°F (107°C to 121°C). This low and slow method allows connective tissues to break down, resulting in tender, juicy meat.
Cooking times vary depending on the type of ribs:
- Baby back ribs: 4-5 hours
- Spare ribs: 5-6 hours
- St. Louis style ribs: 2-2.5 hours
Maintaining consistent temperature is crucial. Use a reliable meat thermometer to monitor both grill and internal meat temperatures. The target internal temperature for fully cooked ribs is 190°F to 203°F (88°C to 95°C).
Factors affecting cooking time include:
- Rib thickness
- Starting meat temperature
- Grill efficiency
- Weather conditions
To ensure even cooking, rotate the ribs periodically. This helps compensate for any hot spots on the grill. Some pitmasters use the 3-2-1 method for spare ribs:
- Smoke for 3 hours
- Wrap in foil for 2 hours
- Unwrap and finish for 1 hour
Remember, these times are guidelines. Always use a meat thermometer to determine doneness. Patience is key when slow cooking ribs to perfection.
Enhancing Flavors
Mastering the art of enhancing flavors is crucial for creating mouthwatering ribs. The right combination of seasonings, smoking techniques, and sauces can elevate your ribs from good to extraordinary.
Creating a Flavor Profile
A well-balanced flavor profile is the foundation of delicious ribs. Start with a dry rub combining salt, sugar, and spices like paprika, garlic powder, and black pepper. For a smoky touch, add smoked paprika.
Experiment with different spice combinations to find your signature blend. Brown sugar adds sweetness, while cayenne or chili powder brings heat. Onion powder and dried herbs like thyme or oregano contribute depth.
Apply the rub generously, massaging it into the meat. Let the ribs sit for at least an hour, or ideally overnight, to allow the flavors to penetrate.
Choosing the Right Wood for Smoking
Selecting the appropriate wood enhances the smoky flavor of your ribs. Hickory and mesquite impart strong, bold flavors. For a milder taste, opt for fruitwoods like apple or cherry.
Oak provides a medium-strength flavor that complements most rubs and sauces. Pecan offers a sweet and nutty profile. Experiment with wood combinations to create unique flavor profiles.
Avoid using softwoods like pine or cedar, as they can impart unpleasant flavors. Soak wood chips in water for 30 minutes before use to prevent them from burning too quickly.
Applying Sauces and Glazes
Sauces and glazes add another layer of flavor to ribs. Traditional BBQ sauce is a popular choice, but don’t be afraid to explore alternatives like mustard-based or vinegar-based sauces.
Apply sauce during the last 30 minutes of cooking to prevent burning. For a caramelized finish, brush on sauce and expose the ribs to high heat for a few minutes.
Create your own signature sauce by combining ketchup, vinegar, brown sugar, and spices. Adjust sweetness, acidity, and heat to suit your taste preferences.
Consider using glazes for a glossy finish. Mix honey, fruit preserves, or maple syrup with your favorite BBQ sauce for a sweet and sticky coating.
Basting and Mopping
Basting and mopping keep ribs moist and add flavor throughout the cooking process. Use a basting brush or mop to apply thin layers of liquid at regular intervals.
A simple mop sauce can consist of apple cider vinegar, water, and spices. For added richness, incorporate melted butter or oil into your mop sauce.
Avoid basting too frequently, as this can slow down the cooking process. Every 30-45 minutes is usually sufficient. Be careful not to disturb the dry rub when mopping.
For extra flavor, add some of your dry rub spices to the mop sauce. This reinforces the flavor profile and helps create a delicious outer crust on the ribs.
Finishing and Presentation

The final steps in rib preparation can elevate your dish from good to exceptional. Proper finishing techniques enhance flavor, texture, and presentation, ensuring your ribs are a culinary masterpiece.
The Bend Test for Doneness
To determine if ribs are perfectly cooked, perform the bend test. Pick up the rack with tongs, holding it at one end. If the meat starts to crack and split as it bends, it’s ready. The ribs should bend easily but not fall apart completely.
For fall-off-the-bone ribs, cook them slightly longer. The meat should separate from the bone with minimal effort when gently pulled. Be cautious not to overcook, as this can lead to dry, mushy ribs.
Adding the Finishing Touches
Brush your favorite barbecue sauce on the ribs during the last 15-30 minutes of cooking. This allows the sauce to caramelize and adhere to the meat without burning.
For a crispy exterior, try broiling. Place sauced ribs on a baking sheet 4-6 inches from the heat source. Broil for 3-5 minutes, watching closely to prevent burning.
Another option is to finish on a hot grill. This imparts a smoky flavor and creates attractive grill marks. Grill for 2-3 minutes per side over high heat.
Serving Suggestions
Let ribs rest for 10-15 minutes before serving. This allows juices to redistribute, ensuring succulent ribs.
Slice between the bones for individual portions. Arrange ribs on a platter with extra sauce on the side.
Pair with classic sides like coleslaw, baked beans, or corn on the cob. For a twist, try grilled vegetables or a fresh salad to balance the rich meat.
Consider garnishing with fresh herbs like parsley or cilantro for a pop of color and freshness.
Proper Storage and Reheating

Storing ribs properly is crucial for maintaining their flavor and quality. After cooking, allow ribs to cool to room temperature before refrigerating. Wrap them tightly in aluminum foil or plastic wrap to prevent air exposure.
Properly stored ribs can last up to 3-4 days in the refrigerator. For longer storage, freeze ribs for up to 2-3 months. Ensure they are well-wrapped to avoid freezer burn.
When reheating, let refrigerated ribs sit at room temperature for 30 minutes. Preheat the oven to 250°F (120°C). Wrap ribs in foil with a small amount of liquid to maintain moisture.
Place wrapped ribs on a baking sheet and heat for 20-30 minutes. Use a meat thermometer to ensure they reach an internal temperature of 145°F (63°C).
For grilling, preheat to 250°F (120°C) and create an indirect heat zone. Place foil-wrapped ribs in this zone and heat for 15-20 minutes.
Avoid microwaving ribs as it can dry them out. If pressed for time, use the microwave on 50% power in short bursts, checking frequently.
Tips for BBQ Enthusiasts
Mastering the art of cooking ribs requires attention to detail and patience. BBQ enthusiasts should aim for a cooking temperature between 225-250°F (107-121°C) to achieve tender, juicy results.
Marination is key for flavorful ribs. Create a marinade using ingredients like apple cider vinegar, brown sugar, and your favorite spices. Allow the ribs to marinate for at least 4 hours or overnight for best results.
The 3-2-1 method is popular among pitmasters. This technique involves smoking the ribs for 3 hours, wrapping them in foil for 2 hours, and finishing unwrapped for 1 hour.
When wrapping ribs in foil, add a mixture of brown sugar, butter, and honey. This creates a caramelized exterior and enhances flavor.
Let the ribs rest for 10-15 minutes after cooking. This allows the juices to redistribute, ensuring moist and tender meat.
For extra flavor, brush the ribs with barbecue sauce during the final stages of cooking. This adds a delicious glaze and enhances the overall taste.
Experiment with different wood chips to find your preferred smoke flavor. Popular options include hickory, apple, and mesquite.
Remember, patience is crucial when cooking ribs. Low and slow is the way to go for mouthwatering results that will impress your guests.