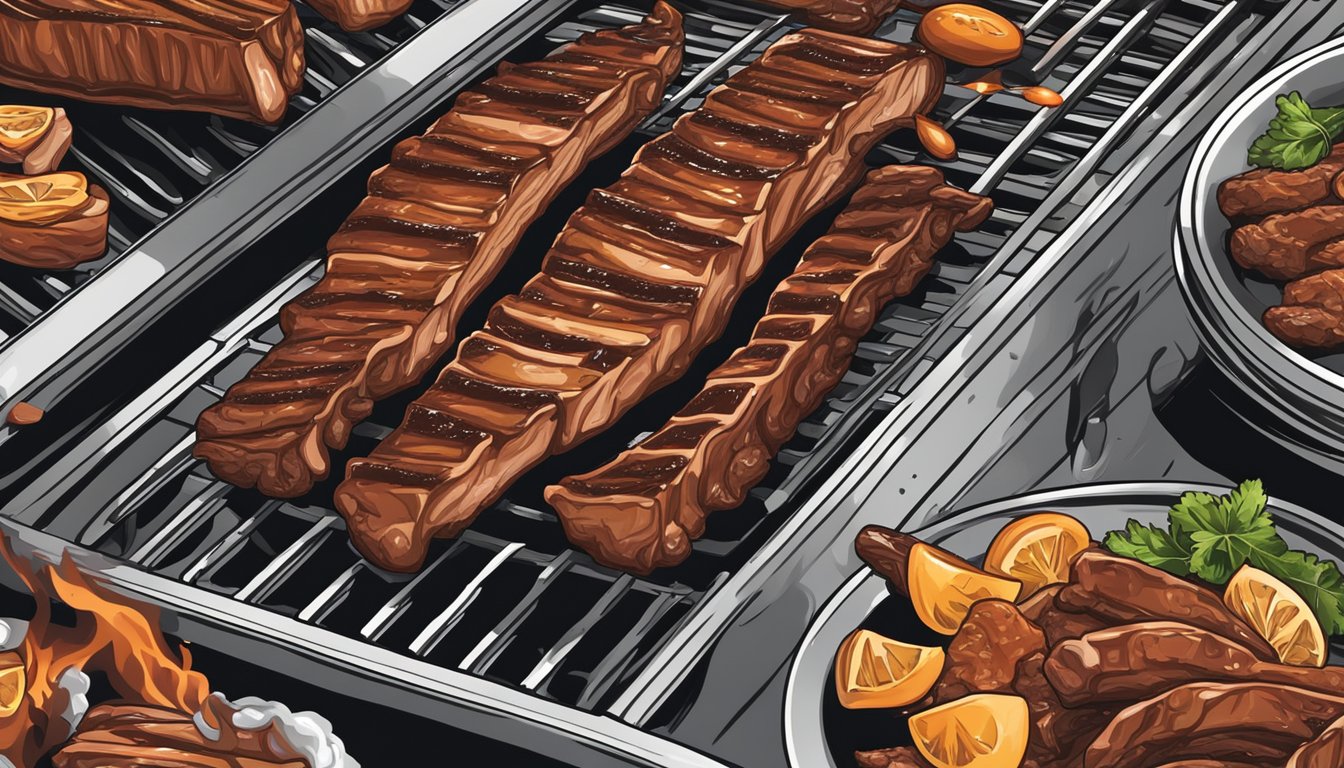
Grilling ribs is a beloved summer tradition that can yield mouthwatering results with the right technique. Perfectly cooked ribs should be tender, juicy, and bursting with flavor. To cook ribs on the grill, coat them in a spice rub, grill at low heat for about 4 hours, and finish with a sticky-sweet barbecue sauce.
The key to achieving fall-off-the-bone tenderness lies in cooking the ribs low and slow. This method allows the connective tissues to break down gradually, resulting in meat that effortlessly pulls away from the bone. Wrapping the ribs in foil during part of the cooking process can help retain moisture and create a flavorful sauce from the natural juices.
Choosing the right type of ribs is also crucial. Baby back ribs are a popular choice for their tender meat and faster cooking time. For those who prefer a meatier option, spare ribs offer a rich flavor and satisfying texture. Regardless of the type selected, proper preparation and cooking techniques will ensure a delicious outcome that will impress family and friends at any barbecue gathering.
Selecting the Best Ribs
Choosing high-quality ribs is crucial for a successful grilling experience. Pork ribs are a popular choice, with several options available.
Baby back ribs come from the loin area and are tender with less fat. They cook quickly and are ideal for those who prefer leaner meat.
Spare ribs are cut from the belly area and have more fat and connective tissue. This makes them flavorful and juicy when cooked low and slow.
St. Louis pork ribs are spare ribs trimmed to a uniform rectangular shape. They offer a good balance of meat and fat, making them a versatile option.
For beef lovers, beef ribs provide a rich, beefy flavor. They come in two main cuts:
- Back ribs: Smaller and more tender
- Short ribs: Larger and more flavorful
When selecting ribs, look for:
• Even coloring
• No dark spots or blemishes
• Visible fat marbling throughout
Fat marbling is essential for juicy, flavorful ribs. It melts during cooking, keeping the meat moist and enhancing taste.
Choose ribs with a pinkish-red color and avoid those with a grayish tint. Fresh ribs should have a mild, clean smell.
Essentials of Rib Preparation
Proper preparation is crucial for achieving delicious grilled ribs. Two key steps set the foundation for flavor and texture.
Trimming and Cleaning
Start by removing the membrane from the back of the ribs. This tough layer can prevent flavors from penetrating and create an unpleasant texture. Use a knife to loosen one corner, then grip with a paper towel and pull it off in one piece.
Trim excess fat, leaving a thin layer for moisture and flavor. Remove any loose pieces of meat or bone fragments.
Rinse the ribs under cold water and pat dry with paper towels. This removes bone dust and ensures a clean surface for the rub to adhere to.
Applying the Rub
A flavorful dry rub is essential for great ribs. Combine ingredients like chili powder, dark brown sugar, salt, black pepper, garlic powder, and paprika in a bowl.
Pat the ribs dry again if needed. Apply the rub generously, massaging it into all surfaces of the meat.
For deeper flavor, wrap the rubbed ribs in plastic and refrigerate for 2-24 hours before grilling. This allows the spices to penetrate the meat.
Just before grilling, let the ribs sit at room temperature for 30 minutes. This promotes even cooking.
Preheating Your Grill
Proper preheating is crucial for achieving perfectly grilled ribs. The process differs slightly between gas and charcoal grills, but both require careful attention to temperature and setup.
Setting Up a Gas Grill
Turn on all burners to high and close the lid. Let the grill heat for 10-15 minutes until it reaches 350°F. For two-zone cooking, turn off one side of the burners. This creates a direct heat zone for searing and an indirect zone for slower cooking.
Clean the grates with a grill brush once they’re hot. Oil the grates lightly to prevent sticking. Adjust the burners to maintain the desired temperature, typically around 300-350°F for ribs.
Keep the lid closed as much as possible to maintain consistent heat. Use a grill thermometer to monitor temperature if your grill doesn’t have a built-in gauge.
Preparing a Charcoal Grill
Start by opening all vents on the grill. Arrange charcoal in a pyramid shape on one side of the grill for two-zone cooking. Use a chimney starter to light the coals – it’s faster and doesn’t require lighter fluid.
Once the coals are ashed over (about 15-20 minutes), spread them evenly on one side of the grill. Place a drip pan filled with water on the empty side. This helps regulate temperature and adds moisture.
Put the grate in place and close the lid. Let the grill preheat for about 10 minutes. Adjust the vents to control airflow and temperature. Aim for 300-350°F for ribs. Clean and oil the grates before adding the meat.
Mastering Grilling Techniques
Grilling ribs to perfection requires mastering key techniques. These methods focus on heat control, precise doneness, and enhancing flavor through smoke.
Using Indirect Heat
Indirect heat is crucial for grilling ribs. Set up your grill with hot coals or lit burners on one side, leaving the other side cooler. Place ribs on the cooler side to cook slowly and evenly.
For gas grills, light only one or two burners. Position ribs on the unlit side. This method prevents burning and allows fat to render gradually.
Maintain a temperature between 225-250°F (107-121°C) for optimal results. Use a grill thermometer to monitor heat levels consistently.
Achieving the Perfect Doneness
Rib doneness is key to a satisfying meal. Cook ribs until the internal temperature reaches 190-203°F (88-95°C) for tender, fall-off-the-bone texture.
Use a meat thermometer to check doneness accurately. Insert it between the bones, avoiding fat or gristle.
The 3-2-1 method is effective for achieving ideal doneness:
- Grill ribs uncovered for 3 hours
- Wrap in foil and cook for 2 hours
- Unwrap and grill for a final hour
This technique ensures tender meat with a crisp exterior.
Creating Smoke for Flavor
Smoke adds depth and complexity to grilled ribs. Choose hardwoods like hickory, oak, or fruit woods such as apple or cherry for distinct flavors.
For gas grills, use a smoker box filled with wood chips. Place it over a lit burner to generate smoke.
On charcoal grills, add wood chunks directly to hot coals. Replenish as needed throughout cooking.
Avoid over-smoking, which can overpower the meat’s natural flavor. A light, steady stream of smoke is ideal for balanced taste.
Enhancing Flavor and Tenderness
Elevating ribs from good to great involves key techniques to boost flavor and tenderness. These methods infuse moisture, develop complex tastes, and ensure fall-off-the-bone texture.
Basting with Apple Cider
Apple cider adds a sweet and tangy flavor profile to ribs while promoting tenderness. Mix equal parts apple cider and apple cider vinegar in a spray bottle. Spray the ribs every 30 minutes during cooking.
This basting technique creates a flavorful crust and helps prevent the meat from drying out. The acids in the mixture break down tough proteins, resulting in more tender ribs.
For extra richness, add melted salted butter to the basting liquid. This enhances the flavor and promotes browning on the surface of the ribs.
Wrapping with Aluminum Foil
Wrapping ribs in aluminum foil, known as the “Texas Crutch,” is a game-changer for achieving tender meat. After 2-3 hours of smoking, remove the ribs from the grill and wrap them tightly in foil.
Before sealing, add a splash of apple juice or beer to create steam. This moisture helps break down collagen, resulting in ultra-tender ribs.
Return the wrapped ribs to the grill for another 2 hours. The foil traps heat and moisture, effectively braising the meat and speeding up the cooking process.
Applying Barbecue Sauce
Barbecue sauce adds the final layer of flavor to ribs. Wait until the last 30 minutes of cooking to apply sauce. This prevents burning and allows the sauce to caramelize properly.
Brush a thin layer of sauce on both sides of the ribs. Close the grill and let the sauce set for 10 minutes. Repeat this process 2-3 times for a sticky, flavorful glaze.
For a more complex flavor, mix different barbecue sauces. Combine a sweet Kansas City-style sauce with a tangy Carolina-style sauce for a balanced taste profile.
Grilling to Perfection
Achieving perfectly grilled ribs requires careful attention to temperature, timing, and technique. Mastering these elements will result in tender, flavorful ribs that impress any barbecue enthusiast.
Monitoring the Grill Temperature
Maintaining a consistent grill temperature is crucial for cooking ribs to perfection. For most rib recipes, aim for a temperature between 300°F and 325°F. Use a grill thermometer to monitor the heat accurately.
For gas grills, adjust the burners as needed to maintain the target temperature. On charcoal grills, control the heat by adjusting the vents. Open vents increase airflow and temperature, while closing them reduces heat.
Create two heat zones on the grill: a direct heat zone for searing and an indirect zone for slower cooking. Place the ribs on the cooler side to prevent burning and ensure even cooking.
Checking for Doneness with a Meat Thermometer
A meat thermometer is essential for determining when ribs are fully cooked. Insert the thermometer into the thickest part of the meat, avoiding bones for an accurate reading.
Pork ribs are safe to eat at 145°F, but for tender, fall-off-the-bone texture, cook them to 190°F-205°F. At this temperature range, the collagen in the meat breaks down, resulting in succulent ribs.
Check multiple spots on the rack to ensure even cooking. If some areas are underdone, rotate the ribs or adjust their position on the grill as needed.
Resting the Ribs before Serving
After removing the ribs from the grill, let them rest for 10-15 minutes before cutting. This step allows the juices to redistribute throughout the meat, ensuring moist and flavorful ribs.
Place the cooked ribs on a clean cutting board and tent them loosely with aluminum foil during the resting period. This helps retain heat while allowing excess steam to escape.
Use this time to prepare any final touches, such as warming barbecue sauce or setting the table. Once rested, cut the ribs between the bones and serve immediately for the best taste and texture.
Serving Suggestions
Grilled ribs pair wonderfully with a variety of side dishes. Classic options include creamy potato salad, coleslaw, and baked beans.
For a lighter option, consider serving a crisp green salad or grilled vegetables alongside the ribs. Corn on the cob is another popular choice that complements the smoky flavors.
To enhance the meal, offer a selection of barbecue sauces. Provide both tangy and sweet options to cater to different taste preferences.
Don’t forget the bread! Soft dinner rolls or cornbread make excellent additions to soak up any extra sauce.
For beverages, cold beer or lemonade are refreshing choices. Iced tea also pairs well with grilled ribs.
Consider presentation when serving. Arrange the ribs on a large platter garnished with fresh herbs for an attractive display.
Remember to provide plenty of napkins and wet wipes, as eating ribs can be messy but enjoyable.