Crispy and cheesy dishes have long been favorites among food enthusiasts. The combination of a crunchy exterior with a gooey, melted cheese interior creates a satisfying contrast of textures and flavors. From hash browns to macaroni and cheese, many classic comfort foods incorporate these enticing elements.
The key to achieving the perfect crispy and cheesy texture lies in the cooking method and choice of ingredients. For dishes like hash browns, using a hot skillet or oven helps create a golden-brown crust, while adding shredded cheese to the mixture ensures pockets of melted goodness throughout. In baked dishes such as macaroni and cheese, a crispy topping can be achieved by sprinkling breadcrumbs or additional cheese on top before baking.
These dishes often serve as versatile bases for additional flavors and ingredients. Crispy, cheesy hash browns can be enhanced with bacon, onions, or peppers, while macaroni and cheese can be customized with various cheese blends or mix-ins. The popularity of these dishes stems from their ability to satisfy cravings for both crunch and creaminess in a single bite.
The Basics of Crispy Cheesy Dishes
Crispy cheesy dishes combine savory flavors with satisfying textures. The key lies in selecting quality ingredients and using proper cooking techniques.
Understanding the Ingredients
Cheese forms the foundation of crispy cheesy dishes. Cheddar and Parmesan are popular choices due to their melting properties and flavor profiles. For added crunch, panko breadcrumbs can be incorporated.
All-purpose flour helps bind ingredients and creates a crispy exterior when fried or baked. Kosher salt enhances flavors, while black pepper adds a subtle kick.
Olive oil is often used for cooking, providing a rich taste and promoting browning. For dairy-free options, plant-based cheese alternatives can be substituted.
Fresh herbs or spices may be added to elevate the flavor profile. Garlic powder, paprika, or dried herbs complement cheesy dishes well.
Essential Cookware for Crispy Outcomes
A non-stick baking sheet or silicone mat is crucial for achieving crispy results in the oven. These surfaces prevent sticking and promote even browning.
For stovetop cooking, a well-seasoned cast iron skillet or non-stick pan works best. These distribute heat evenly and allow for easy flipping of cheese crisps or patties.
A box grater or food processor with a grating attachment helps prepare cheese quickly and uniformly. This ensures even melting and crispy edges.
Parchment paper is useful for lining baking sheets, making cleanup easier and preventing cheese from sticking. A thin spatula aids in removing delicate crispy cheese creations without breaking them.
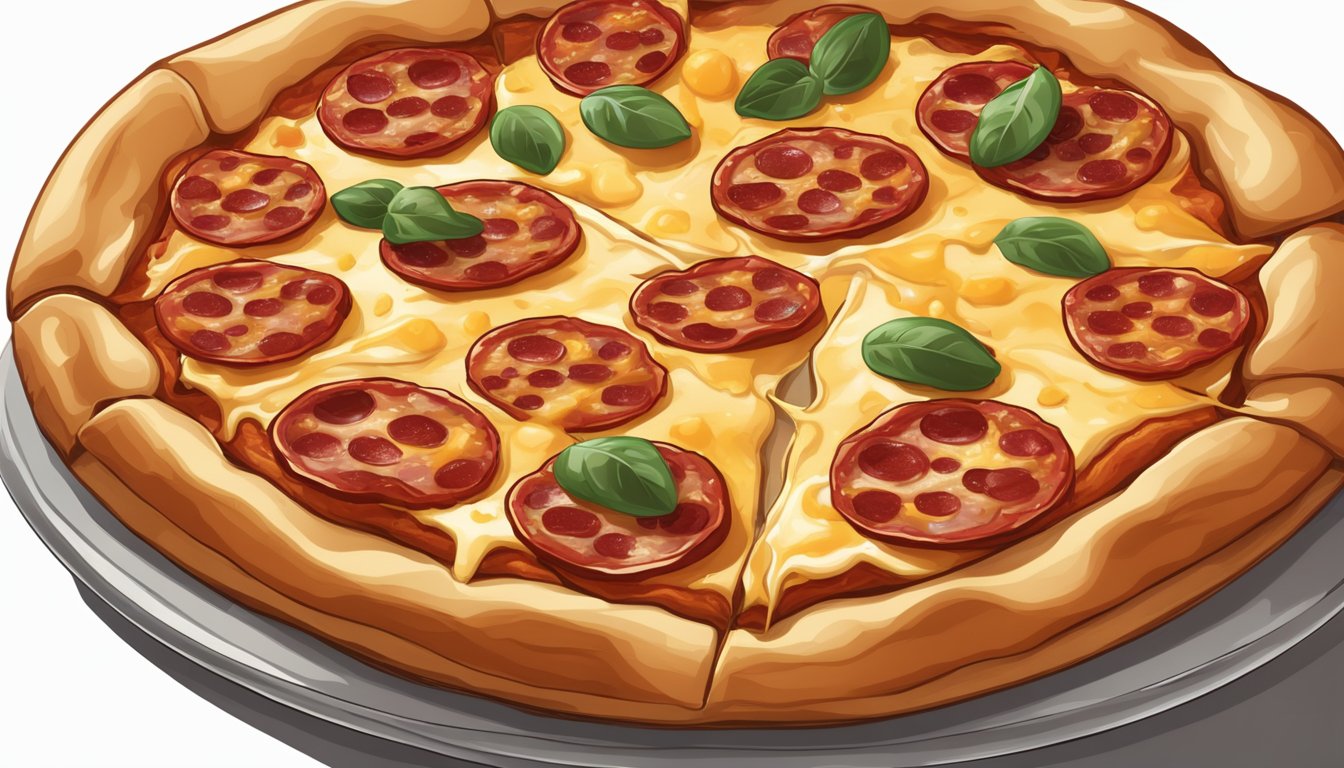
Perfecting the Crispy and Cheesy Pan Pizza
Creating the ultimate pan pizza requires attention to detail in every step. From the base to the toppings, each element plays a crucial role in achieving that perfect balance of crispy and cheesy.
Choosing Your Pizza Base
The foundation of a great pan pizza starts with the dough. A high-hydration dough works best for pan pizzas, creating a light and airy crust. Mix bread flour, water, yeast, and a touch of olive oil for optimal results.
Allow the dough to undergo an overnight refrigerated rest. This slow fermentation enhances flavor and texture.
For baking, a cast iron pan is ideal. Its heat retention properties ensure an evenly cooked, crispy bottom crust. Oil the pan generously before adding the dough to promote browning.
Press the dough into the pan, leaving it thicker at the edges. This creates a delightful contrast between the crispy exterior and soft interior.
Selecting the Right Cheeses
Cheese selection is crucial for achieving that perfect gooey, stretchy texture. Low-moisture mozzarella is the go-to choice for its excellent melting properties and mild flavor.
For added depth, mix in some sharp cheddar cheese. This combination provides a balance of stretch and tang.
Consider adding a sprinkle of Parmesan for a savory boost. Its nutty flavor complements the milder cheeses beautifully.
Apply cheese generously, ensuring even coverage across the pizza. Leave some spaces for the sauce to peek through, creating an appetizing visual contrast.
Sauce Selection and Flavor Layering
The sauce is key to a flavorful pan pizza. A classic tomato sauce works well, offering acidity to balance the rich cheese. Simmer crushed tomatoes with garlic, oregano, and basil for a simple yet delicious option.
For a twist, try a white sauce made from garlic, olive oil, and herbs. This lighter base allows the cheese flavors to shine.
Layer flavors by adding ingredients in the right order. Start with sauce, followed by cheese, then toppings. This method ensures each element cooks properly and flavors meld together.
Fresh herbs like basil or oregano can be added post-baking for a burst of freshness.
Baking Techniques for the Ideal Crust
Proper baking is crucial for achieving that perfect crispy crust. Preheat your oven to a high temperature, around 450°F (230°C), with a rack positioned in the lower third.
Bake the pizza on the bottom rack for 18-20 minutes. This direct heat ensures a crispy bottom crust.
If the bottom is golden but the top needs more color, move the pizza to the top rack for an additional 2-4 minutes.
Look for bubbling cheese and a golden-brown crust as indicators of doneness. Let the pizza rest for a few minutes before slicing to allow the cheese to set slightly.
Incorporating Crispy and Cheesy Elements in Poultry Dishes
Crispy coatings and cheesy additions elevate poultry dishes by adding texture and rich flavors. These elements transform simple chicken recipes into delectable meals.
Creating Crispy Coatings
For a crispy exterior on chicken, use a combination of dry ingredients. Crush Ritz crackers or mix flour with seasonings like ranch powder. Dip chicken pieces in milk, then coat with the crumb mixture.
Preheat the oven to 400°F (200°C) for baking. Place coated chicken on a lined baking tray or a rack set inside a sheet pan for even crisping.
For stovetop cooking, use a nonstick skillet over medium-low heat. This method works well for thin chicken cutlets or tenders.
Ensuring Moisture and Flavor
To keep chicken moist, consider using mayonnaise or eggs in the coating process. These ingredients help seasonings adhere and create a barrier that locks in juices.
Add herbs like parsley to the coating mix for extra flavor. Salt and pepper are essential, but don’t overdo it if using pre-seasoned coatings.
For added moisture, cover the dish with foil for part of the cooking time. Remove the foil towards the end to allow the exterior to crisp up.
Cheesy Complements for Chicken
Incorporate cheese into chicken dishes for a savory boost. Mix shredded mozzarella or cheddar into ground chicken for flavorful patties.
For a cheesy crust, sprinkle grated cheese directly in a hot skillet before adding the chicken. As it melts, it forms a crispy layer.
Create a cheesy topping by mixing cream of chicken soup with sour cream and butter. Pour this over the crispy chicken before serving for a rich finish.
Stuff chicken breasts with cheese before coating and cooking for a gooey center. Alternatively, sprinkle cheese over the chicken during the last few minutes of baking.
Casserole Creations: A Blend of Crispiness and Cheesiness
Casseroles offer the perfect canvas for combining crispy textures with gooey cheese. These versatile dishes can be customized with various ingredients and techniques to achieve the ideal balance of crunch and creaminess.
Layering Techniques
Effective layering is crucial for creating a crispy and cheesy casserole. Start with a layer of sauce or cheese in the baking dish to prevent sticking. Alternate layers of pasta, meat, or vegetables with cheese for even distribution.
For added crispiness, incorporate crushed Cheerios or breadcrumbs between layers. These crunchy elements provide texture contrast and absorb excess moisture. Top the casserole with a final layer of cheese and crushed cereal for a golden, crispy crust.
Experiment with different cheese combinations like Parmesan, Colby-Jack, or Reblochon for unique flavors and textures. Use all-purpose flour to thicken sauces and prevent separation during baking.
Texture Contrast in Casseroles
Achieving the perfect balance of crispy and cheesy textures requires careful ingredient selection and cooking techniques. Combine soft, melted cheeses with crispy toppings or mix-ins for a delightful contrast.
Add crispy bacon bits or pan-fried onions to introduce crunch throughout the casserole. For a crispy exterior, remove the foil during the last 5-10 minutes of baking and increase the oven temperature to 475°F. This step creates a golden-brown, bubbly top layer.
Consider using pasta shapes with ridges or curves to trap cheese and sauce, enhancing the overall texture. Pre-cooking certain ingredients, like broccoli or chicken, ensures they retain some firmness in the finished dish.
Cooking Methods and Tips
Achieving crispy and cheesy dishes requires mastering specific cooking techniques. The right methods and tools can elevate textures and flavors to create delicious results.
Stovetop Strategies for Crispiness
A nonstick skillet or cast iron pan is ideal for stovetop cooking. Preheat the pan over medium-high heat before adding ingredients. This helps create a crispy exterior. For quesadillas, place the tortilla in the hot pan and add cheese and fillings to one half. Fold the other half over and cook for 2-3 minutes per side until golden brown.
To make crispy cheesy chicken, sprinkle cheese in a nonstick skillet over medium-low heat. Place the chicken on top of the melting cheese. Once the edges start to brown, flip the entire chicken and cheese circle with a spatula. Cook for another 3-4 minutes until the chicken is cooked through.
Oven-Baked Perfection
Oven-baking offers consistent heat for crispy, cheesy dishes. Preheat the oven to 400°F (200°C). For crispy quesadillas, place assembled tortillas on a baking sheet. Brush the tops lightly with oil. Bake for 8-10 minutes, flipping halfway through.
For cheesy baked dishes, use a shallow baking dish. Layer ingredients and top with cheese. Bake until the cheese is melted and bubbly, about 15-20 minutes. For extra crispiness, broil for 1-2 minutes at the end, watching closely to prevent burning.
A parchment paper-lined baking sheet helps prevent sticking and promotes even browning. This technique works well for items like cheese crisps or cheesy garlic bread.
Conclusion
Crispy and cheesy snacks offer a delightful combination of textures and flavors. Their irresistible crunch paired with rich, savory cheese creates a satisfying eating experience.
These treats come in various forms, from potato-based bites to onion crisps. They can be baked or fried, depending on the desired texture and health preferences.
Versatility is a key attribute of crispy and cheesy snacks. They serve well as appetizers, party foods, or casual snacking options. Many recipes allow for customization with different cheeses, herbs, or spices.
Preparation methods often involve simple ingredients and straightforward techniques. This accessibility makes them popular choices for home cooks and professional chefs alike.
Serving these snacks fresh and hot ensures the best flavor and texture. The contrast between the warm, gooey cheese and the crisp exterior is most pronounced when enjoyed immediately after cooking.
While indulgent, crispy and cheesy snacks can be part of a balanced diet when consumed in moderation. Their popularity stems from their ability to satisfy cravings for both crunch and savory flavors in a single bite.