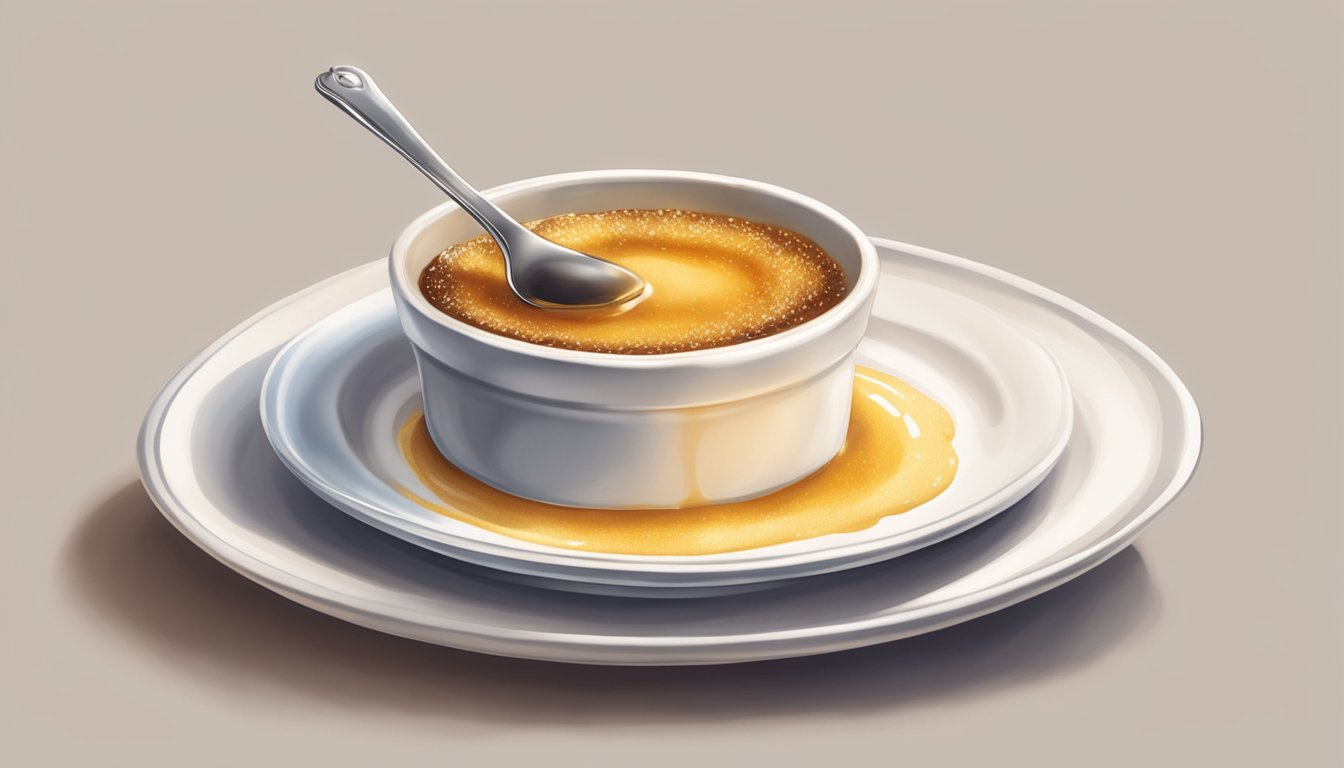
Caramelized perfection is a culinary art that transforms ordinary onions into a rich, sweet delicacy. The process involves slowly cooking sliced onions over low heat until they turn a golden-brown color and develop a deep, complex flavor. This technique concentrates the natural sugars in onions, creating a versatile ingredient that enhances a wide range of dishes.
The art of cooking caramelized onions requires patience and attention to detail. Chefs and home cooks alike can master this skill by understanding the importance of temperature control and timing. While traditional methods can take up to an hour, some innovative techniques, such as oven roasting or adding a pinch of sugar, can help speed up the process without compromising on flavor.
Mastering caramelized perfection opens up a world of culinary possibilities. These golden morsels can elevate soups, sandwiches, dips, and pasta dishes. Their sweet and savory notes add depth to both simple and complex recipes, making them a valuable addition to any cook’s repertoire.
Understanding Caramelization
Caramelization transforms sugars into complex flavor compounds through heat application. This process enhances the taste and aroma of various foods, creating rich, sweet notes and appealing brown colors.
The Caramelization Process
Caramelization occurs when sugars are heated to high temperatures, typically between 248°F (120°C) and 356°F (180°C). As heat breaks down sugar molecules, they form new compounds that contribute to the distinct caramel flavor and color.
The process begins with sugar melting and then breaking down into smaller molecules. These molecules recombine to form larger, more complex compounds. This results in the development of hundreds of different flavor compounds and brown pigments.
Caramelization differs from the Maillard reaction, which involves proteins and sugars. It’s a key technique in cooking, used to create depth of flavor in dishes like caramelized onions, seared meats, and roasted vegetables.
Types of Onions for Caramelizing
Different onion varieties offer unique flavors when caramelized, each contributing its own character to dishes.
Yellow onions are the most common choice for caramelizing. They have a balanced flavor that becomes sweet and mellow when cooked slowly.
Red onions caramelize well, developing a slightly sharper taste compared to yellow onions. They also retain some of their vibrant color, adding visual appeal to dishes.
Sweet onions, such as Vidalia onions, start with a higher sugar content. This results in a more intense sweetness when caramelized, making them ideal for applications where a prominent sweet flavor is desired.
White onions can also be caramelized but tend to have a sharper flavor even after cooking. They’re less commonly used for this purpose compared to other varieties.
Cooking Techniques
Mastering the art of caramelized onions requires attention to key cooking techniques. These methods focus on equipment selection, temperature control, and fat choices to achieve rich, golden results.
Choosing the Right Skillet
A wide, heavy-bottomed skillet is essential for caramelizing onions. Cast iron or stainless steel pans distribute heat evenly, preventing hot spots that can burn the onions. The wide surface area allows onions to spread out, promoting moisture evaporation and browning.
Avoid overcrowding the pan. A single layer of onions ensures each piece has direct contact with the cooking surface. For large batches, cook in multiple rounds or use two pans simultaneously.
Non-stick skillets are less ideal, as they limit the formation of flavorful browning on the pan’s surface.
Balancing Heat and Time
Patience is crucial when caramelizing onions. Medium-low heat is optimal, allowing sugars to break down slowly without burning. This process typically takes 30-45 minutes.
Start with high heat to evaporate moisture, then reduce to medium-low. Stir occasionally to prevent sticking and ensure even cooking. As onions soften and turn translucent, they’ll begin to brown.
Don’t rush the process by increasing heat. This leads to burnt, bitter onions instead of sweet, golden perfection. If onions start to stick, add a splash of water to deglaze the pan.
Oil Versus Butter
The choice between oil and butter affects both flavor and cooking process. Olive oil has a higher smoke point, making it suitable for longer cooking times. It imparts a subtle flavor that complements the onions’ sweetness.
Butter adds richness but can burn at high temperatures. For best results, use a combination of oil and butter. Start with olive oil, then add a pat of butter towards the end for enhanced flavor and a glossy finish.
Clarified butter or ghee offers the best of both worlds – high smoke point and rich flavor. Salted butter can be used, but adjust additional seasoning accordingly.
Caramelizing Onions Step-by-Step
Caramelizing onions transforms them into a sweet, rich, and versatile ingredient. The process requires patience and attention to detail, but the results are well worth the effort.
Preparation of Ingredients
To start, select 2-3 large onions. Yellow onions are ideal, but white or red onions can also work. Peel the onions and slice them thinly, about 1/8 inch thick. Uniform slices ensure even cooking.
Heat a large skillet over medium-low heat. Add 2 tablespoons of butter or olive oil. Once melted or heated, add the sliced onions to the pan. Spread them out evenly.
Sprinkle a pinch of salt over the onions. This helps draw out moisture and enhances the caramelization process.
Cooking Process
Stir the onions occasionally, about every 5-10 minutes. This prevents burning and promotes even browning. As they cook, the onions will start to soften and turn translucent.
After about 20 minutes, the onions will begin to brown. Continue cooking and stirring for another 20-30 minutes. The onions will gradually darken and become more fragrant.
If the onions start to stick, add a tablespoon of water to the pan. This helps deglaze and prevents burning.
For deeper flavor, cook for up to an hour total. The longer they cook, the darker and sweeter they become.
Deglazing the Skillet
Once the onions reach the desired color and consistency, it’s time to deglaze. This step adds depth and intensifies the flavor.
Add 1/4 cup of liquid to the pan. Wine, broth, or balsamic vinegar all work well. Scrape the bottom of the pan to release any stuck bits.
Cook for an additional 2-3 minutes, stirring constantly. The liquid will reduce and coat the onions.
Remove from heat and use immediately, or store in an airtight container in the refrigerator for up to a week.
Common Mistakes to Avoid
Impatience is a major pitfall when caramelizing onions. Many cooks rush the process, resulting in subpar flavor development. Properly caramelized onions can take 30-45 minutes or more.
Stirring too frequently can disrupt the caramelization process. Allow the onions to sit and brown between occasional stirs for best results.
Using a pan that’s too small leads to overcrowding. This causes the onions to steam rather than caramelize. Choose a pan large enough to spread the onions in a single layer.
Adding sugar too early is unnecessary and can lead to burning. Natural sugars in onions will caramelize on their own with proper technique.
Cooking at too high a heat is a common error. Low to medium-low heat allows for gradual caramelization without burning.
Neglecting to deglaze the pan is a missed opportunity for flavor. Use water, wine, or stock to scrape up the flavorful browned bits from the pan bottom.
Failing to season properly can result in bland caramelized onions. Add salt at the beginning to help draw out moisture and enhance flavors.
Serving and Pairing Ideas

Caramelized onions add depth and sweetness to a variety of dishes. Their versatility makes them a perfect complement to both classic recipes and innovative culinary creations.
Classic Dishes with Caramelized Onions
French onion soup showcases caramelized onions as the star ingredient. The rich, savory flavor pairs beautifully with crusty bread and melted cheese. Steaks benefit from a topping of caramelized onions, enhancing the meat’s umami notes.
Macaroni and cheese gains complexity when mixed with these golden strands. Soups and stews become more flavorful with the addition of caramelized onions. They can be stirred into mashed potatoes for a luxurious side dish.
Onion dip made with caramelized onions offers a gourmet twist on a classic appetizer. Serve it with crudités or chips for a crowd-pleasing snack.
Creative Serving Suggestions
Caramelized onions make an excellent pizza topping, especially when paired with goat cheese and arugula. Try them in a savory tart or quiche for an elegant brunch option.
Blend them into hummus for a unique spread. Use them as a filling for grilled cheese sandwiches or quesadillas. Top burgers or hot dogs with caramelized onions for a gourmet touch.
Mix them into scrambled eggs or omelets for a flavorful breakfast. Incorporate them into grain bowls or salads for added depth. Stuff them into mushrooms or bell peppers for a tasty appetizer.
Storage and Reuse

Properly storing caramelized onions is crucial to maintain their flavor and texture. Refrigerate them in an airtight container for up to one week. For longer preservation, freezing is an excellent option.
Freeze caramelized onions in ice cube trays or small portions. Once frozen, transfer them to freezer-safe bags or containers. They can last up to three months in the freezer.
To reuse, thaw refrigerated onions in the microwave or on the stovetop. For frozen onions, add them directly to hot dishes or thaw in the refrigerator overnight.
Caramelized onions can be easily incorporated into various dishes. Add them to sandwiches, pizzas, or pasta for instant flavor enhancement. They also make excellent additions to dips, spreads, and sauces.
When reheating, be careful not to overcook. A quick warming is usually sufficient to restore their delicious taste and texture.
For sautéed onions, follow similar storage methods. However, they may have a slightly shorter shelf life due to their higher moisture content. Use refrigerated sautéed onions within 3-5 days for best results.